

How To Draw A Birthday Cake Step By Step
Nothing is as exciting every bit blowing the candle and eating your altogether block on your birthday. It'southward a moment nosotros always savour and look forward to regardless of our historic period.
Imagine being able to design and create your very own unique birthday block—that would be so fun!
Drawing a birthday cake is a good place to start so yous can visualize your dream altogether cake and put it into paper. Who knows? Maybe you lot'll be able to actually bake it and brand information technology come to life!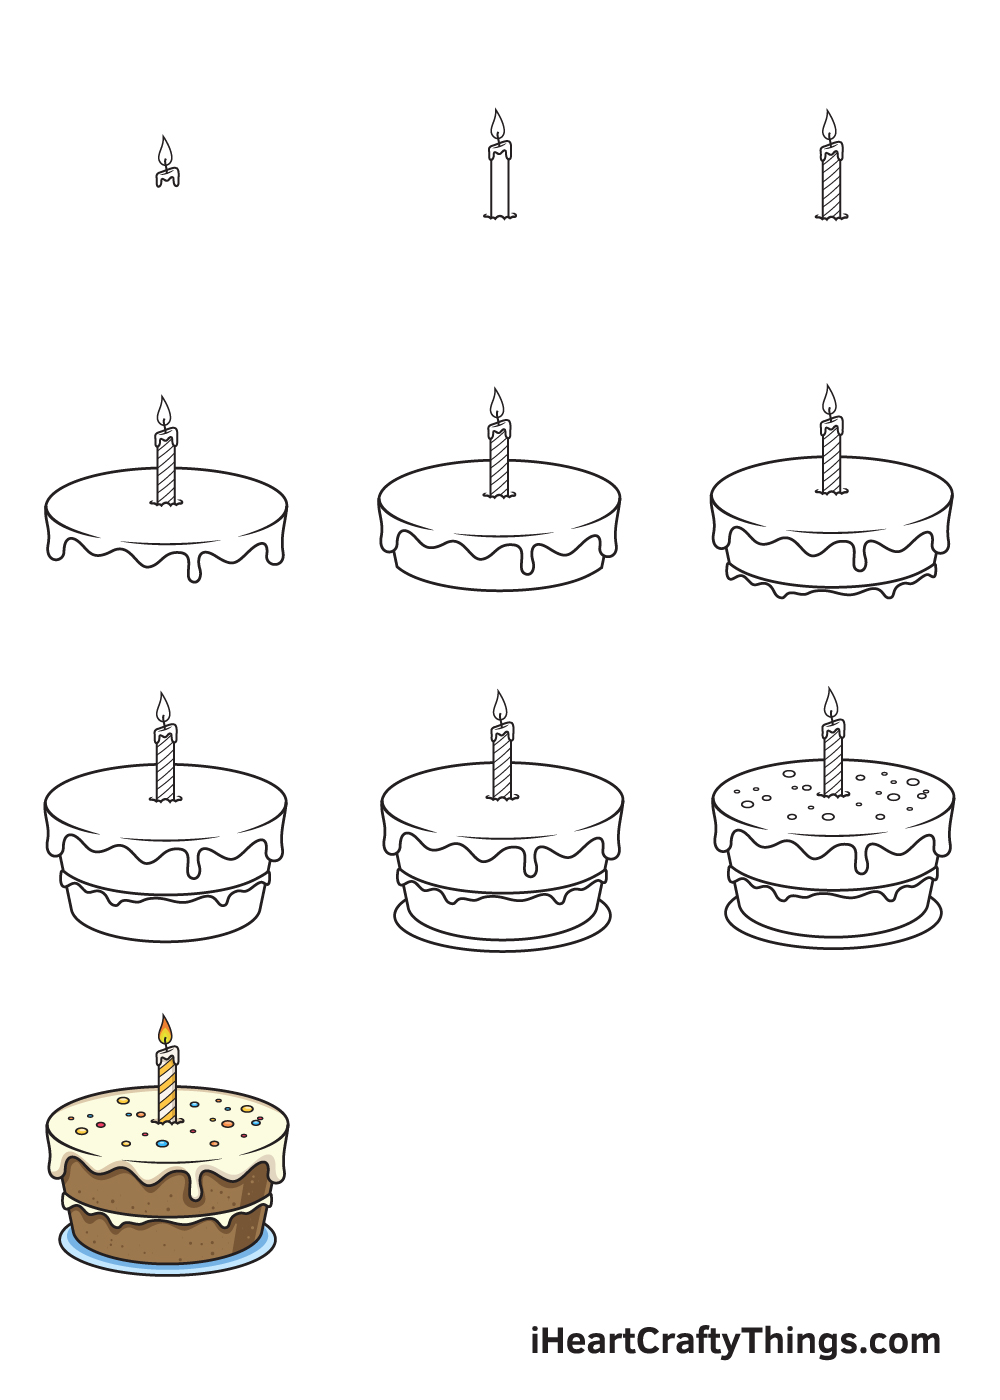
Fortunately, we have curated a step-by-step tutorial on how to draw a birthday cake summarized in ix easy and simple steps.
With this comprehensive guide, drawing a altogether cake is made more easy. Each step is accompanied with comprehensible illustrations that serve as your visual guide every bit yous follow the instructions.
Whether you are a novice or an expert in drawing, we're sure yous can follow these steps effortlessly.
What's more than, yous can add your ain style and improvise in every step. Mix and match colors to customize your artwork and make information technology unique. Feel free to let your imagination wander and unleash your creativity.
Have fun and use your artistic skills!
What'south in this Blog Mail
- How to Draw a Birthday Cake — Let's go started!
- Step i
- Step 2 — Draw the Candle Wax and its Flame
- Step 3 — Add Patterns on the Candle
- Stride four — Draw the Frosting of the Cake
- Step 5 — Next, Add the Top Layer of the Cake
- Step 6 — Draw Another Frosting
- Footstep 7 — So, Add the Bottom Layer of the Cake
- Step eight — Draw the Plate Underneath the Block
- Step 9 — Add the Sprinkles on Top
- Your Birthday Cake Drawing is Complete!
How to Draw a Birthday Cake — Permit's get started!
Step one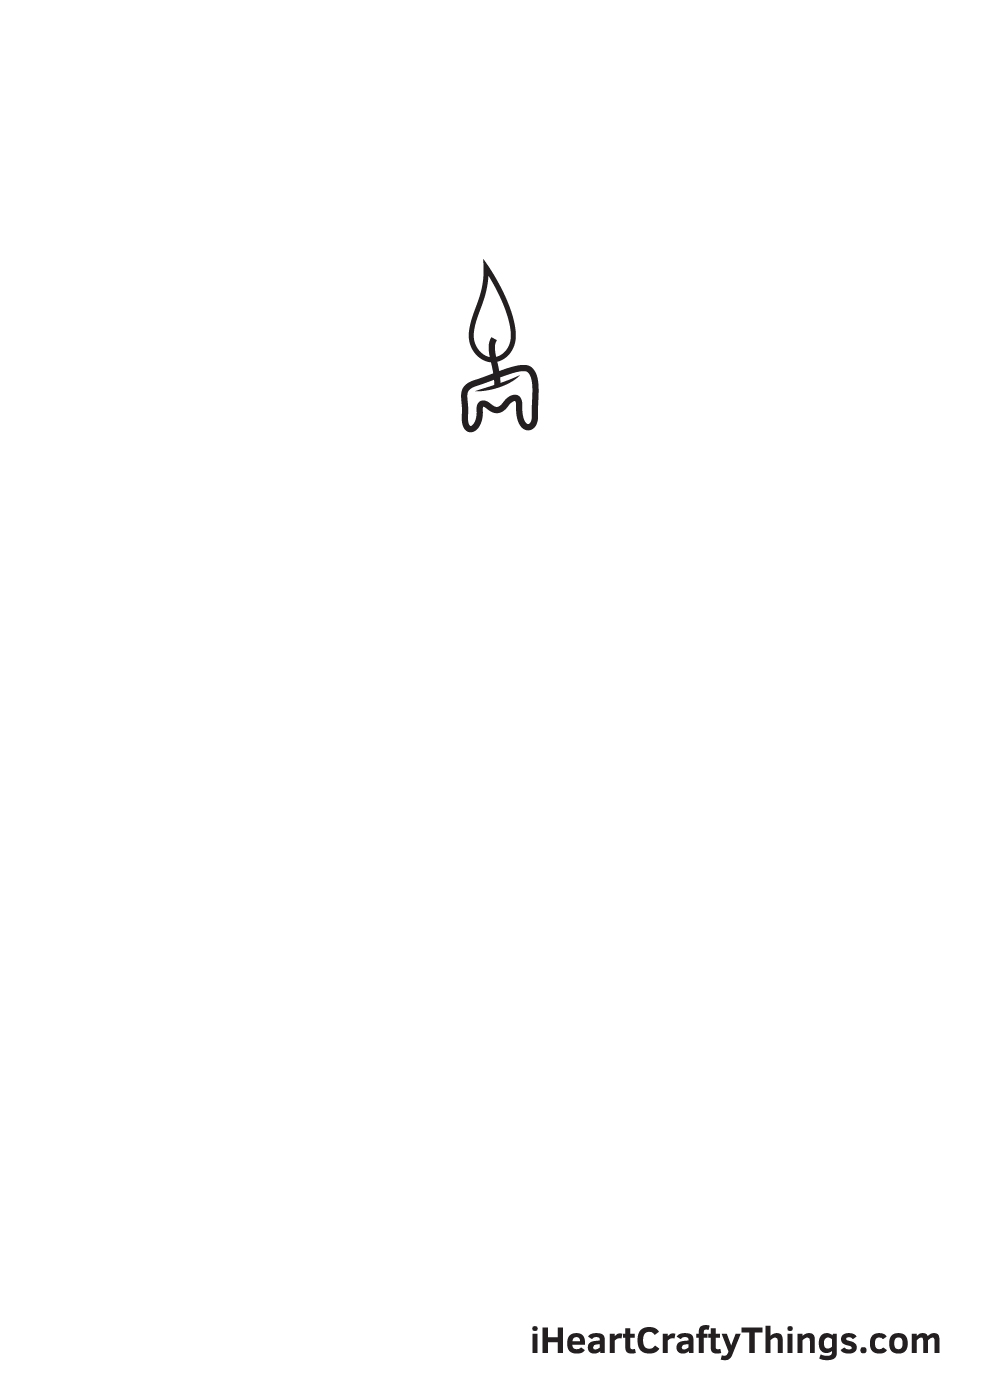
Starting from the top of your paper, describe a tiny droplet shape to create the flame of the candle. Afterwards, add together a short vertical line at the bottom of the flame. Then, from the tip of the candle wick, describe a diagonal line with a baste shape at the bottom to create the melted candle wax upshot.
Cartoon from the top to the lesser gives you enough infinite for customization. For instance, while this tutorial is for a 2-layered altogether block, you tin can create equally many cake layers as you want—how exciting is that?!
Pace two — Draw the Candle Wax and its Flame
Depict two parallel horizontal lines from the tip of the dripping candle wax. And then, draw an uneven, curved horizontal line at the bottom of the candle. This volition create the illusion that the candle is pressed into the cake, as it naturally should.
Step three — Add together Patterns on the Candle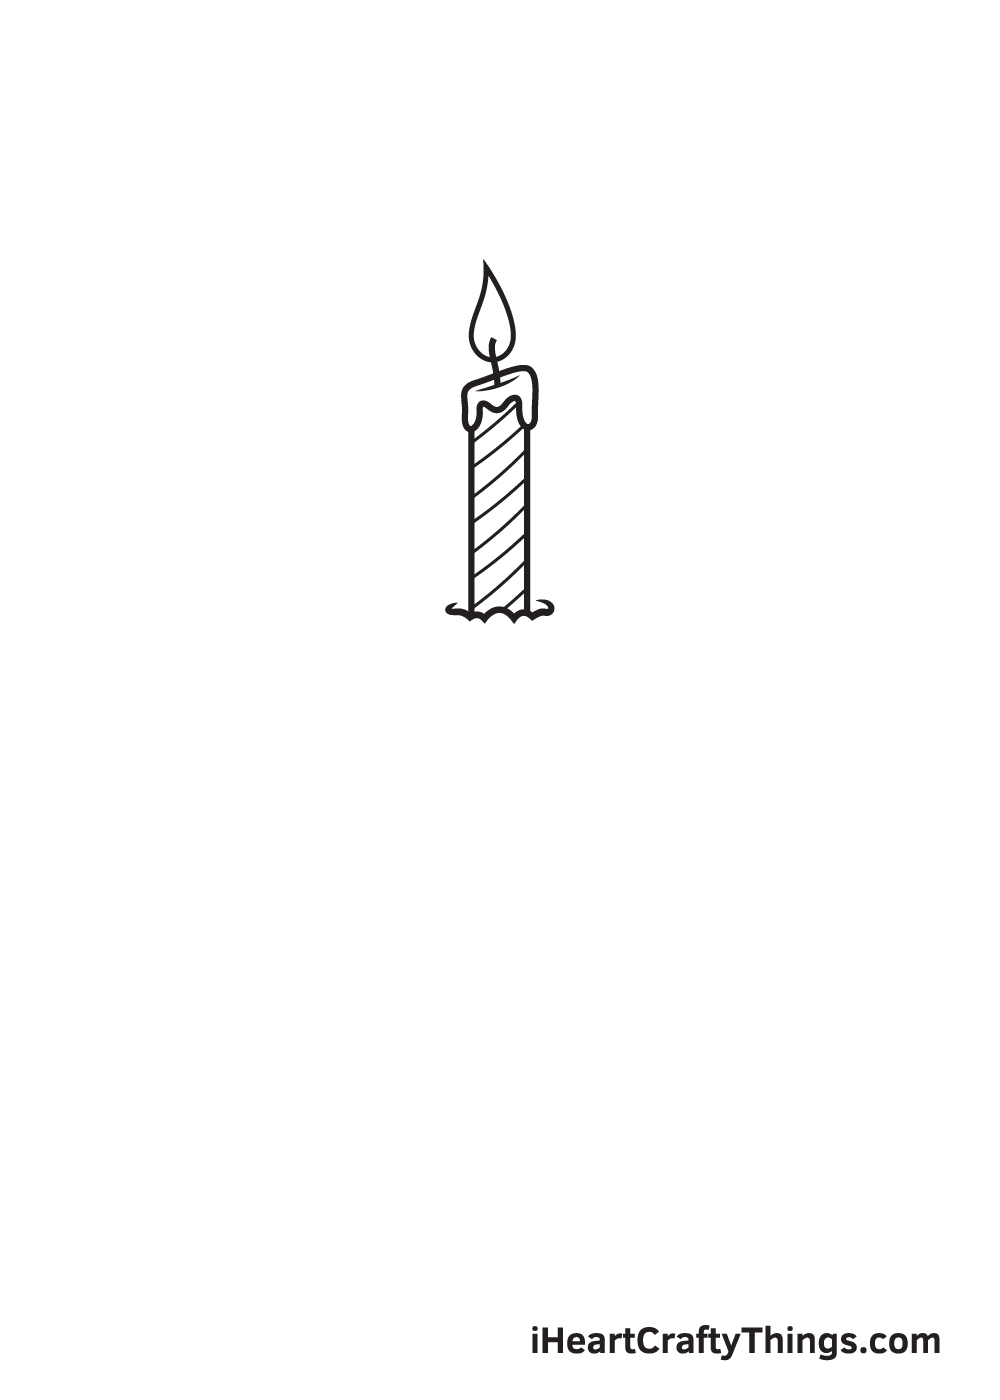
Now, it's time to add patterns and textures to the candle. Y'all tin easily achieve a realistic and creative looking candley by simply drawing parallel diagonal lines across the candle
Altogether cake candles come in a wide range of shapes and designs. So, you tin opt to follow the pattern in this illustration or customize the appearance of the candle nevertheless you like.
Step four — Draw the Frosting of the Cake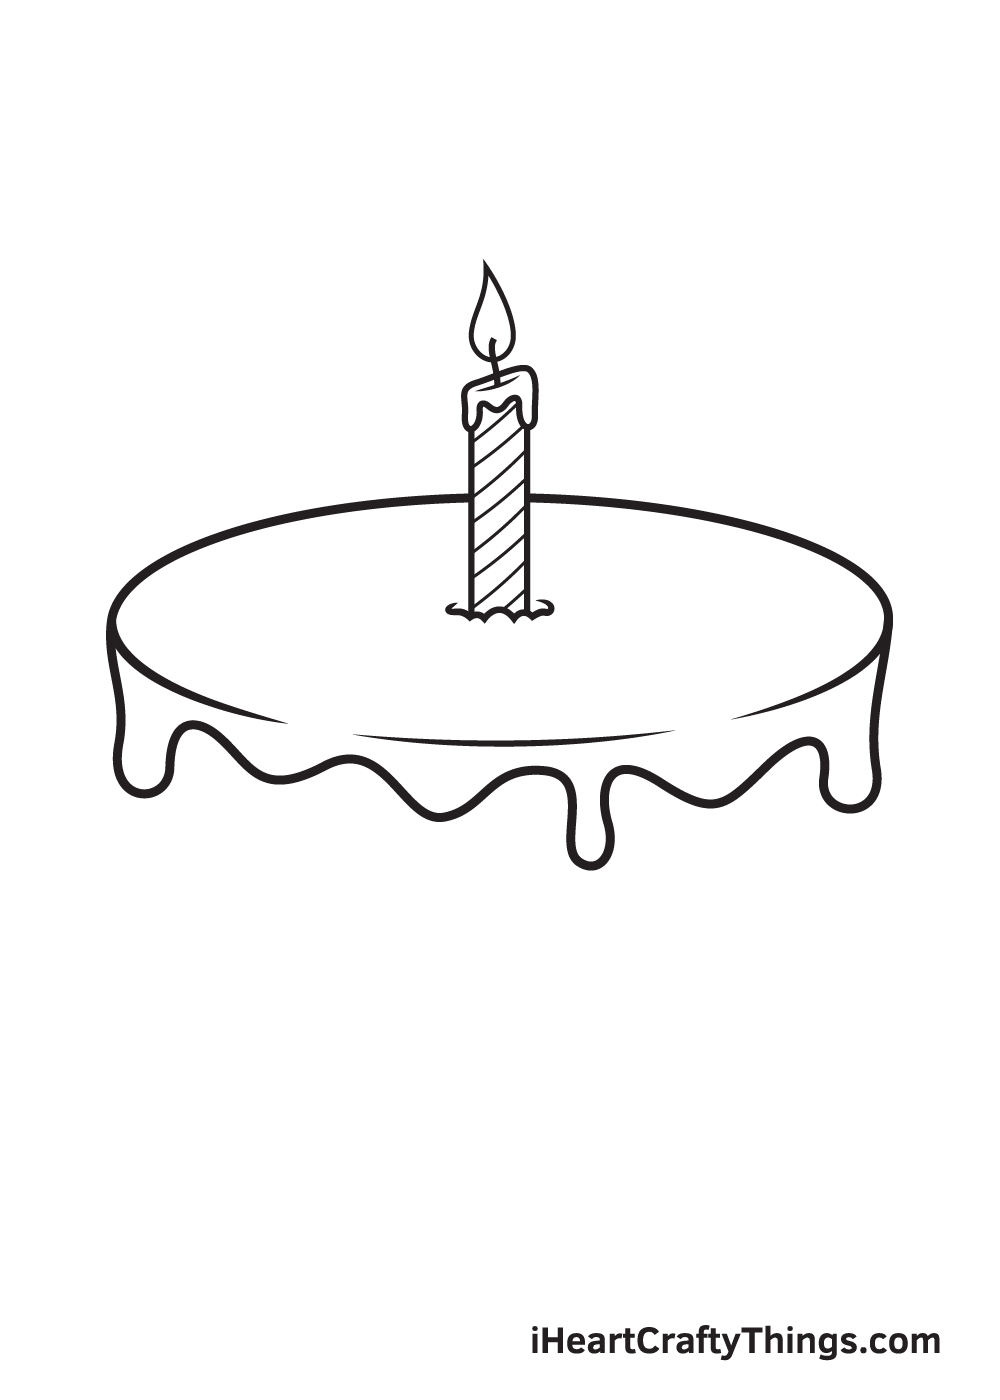
At the bottom of the candle, draw a sideways oval shape, as shown in the illustration. The end point of the candle must be positioned in the very centre of the oval shape. Then, at the lesser of the oval shape, create a dripping frosting outcome by cartoon a continuous curved line in various sizes.
Don't stress over the uniformity of the curves in the dripping effect. As a thing of fact, the more than uneven it is, the more than realistic it looks.
Step v — Side by side, Add the Superlative Layer of the Cake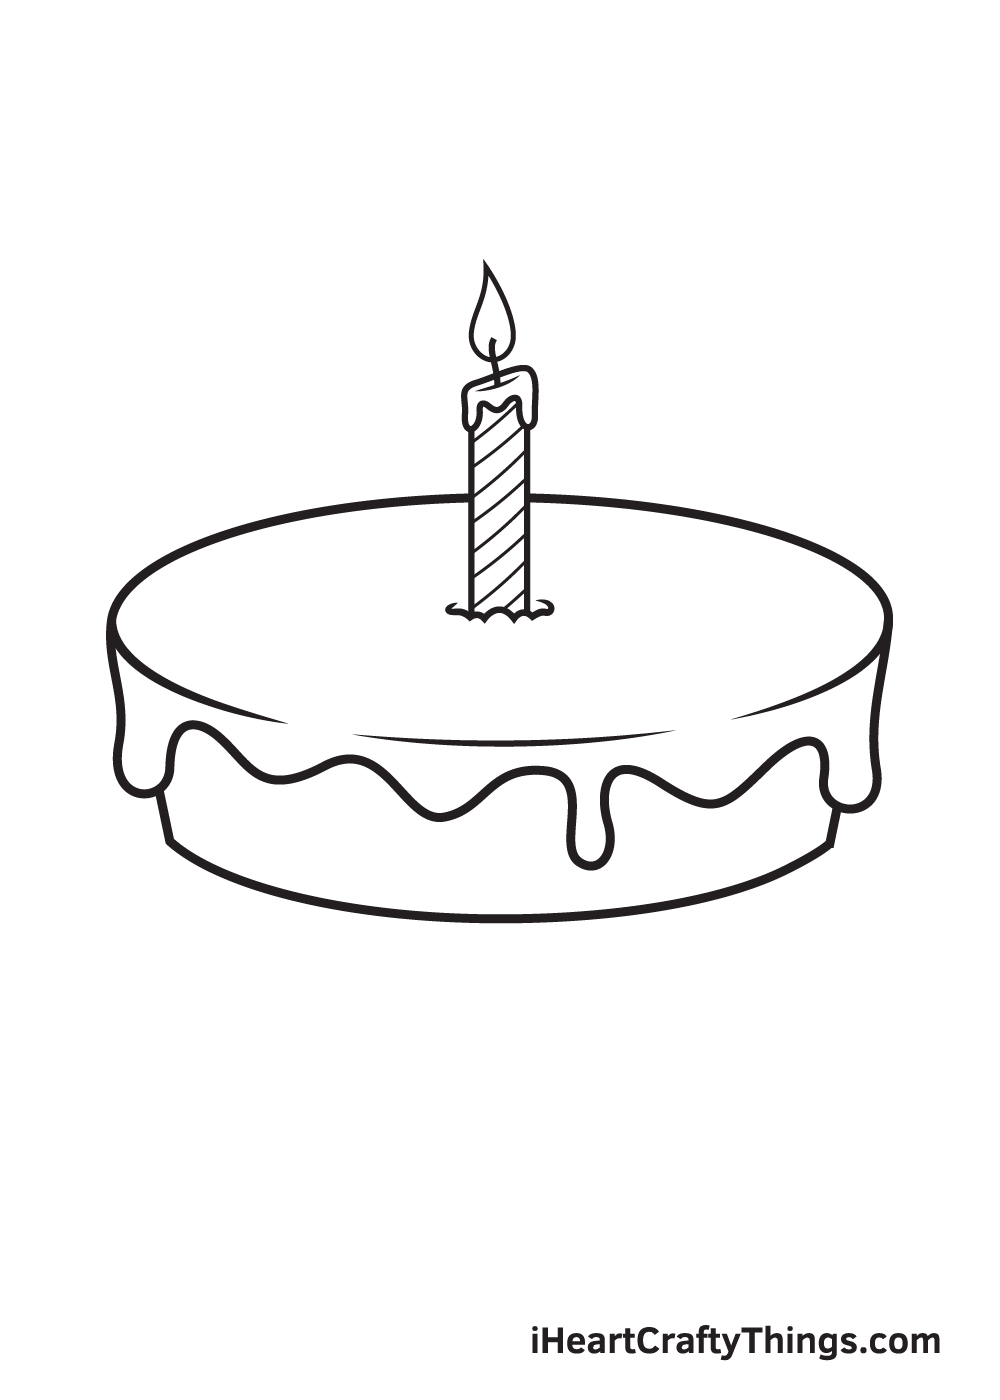
Now that you lot have fatigued the frosting, information technology's time to describe the topmost cake layer. Draw two short diagonal lines on both ends of the frosting and connect them together with a curved horizontal line.
Pace half dozen — Draw Another Frosting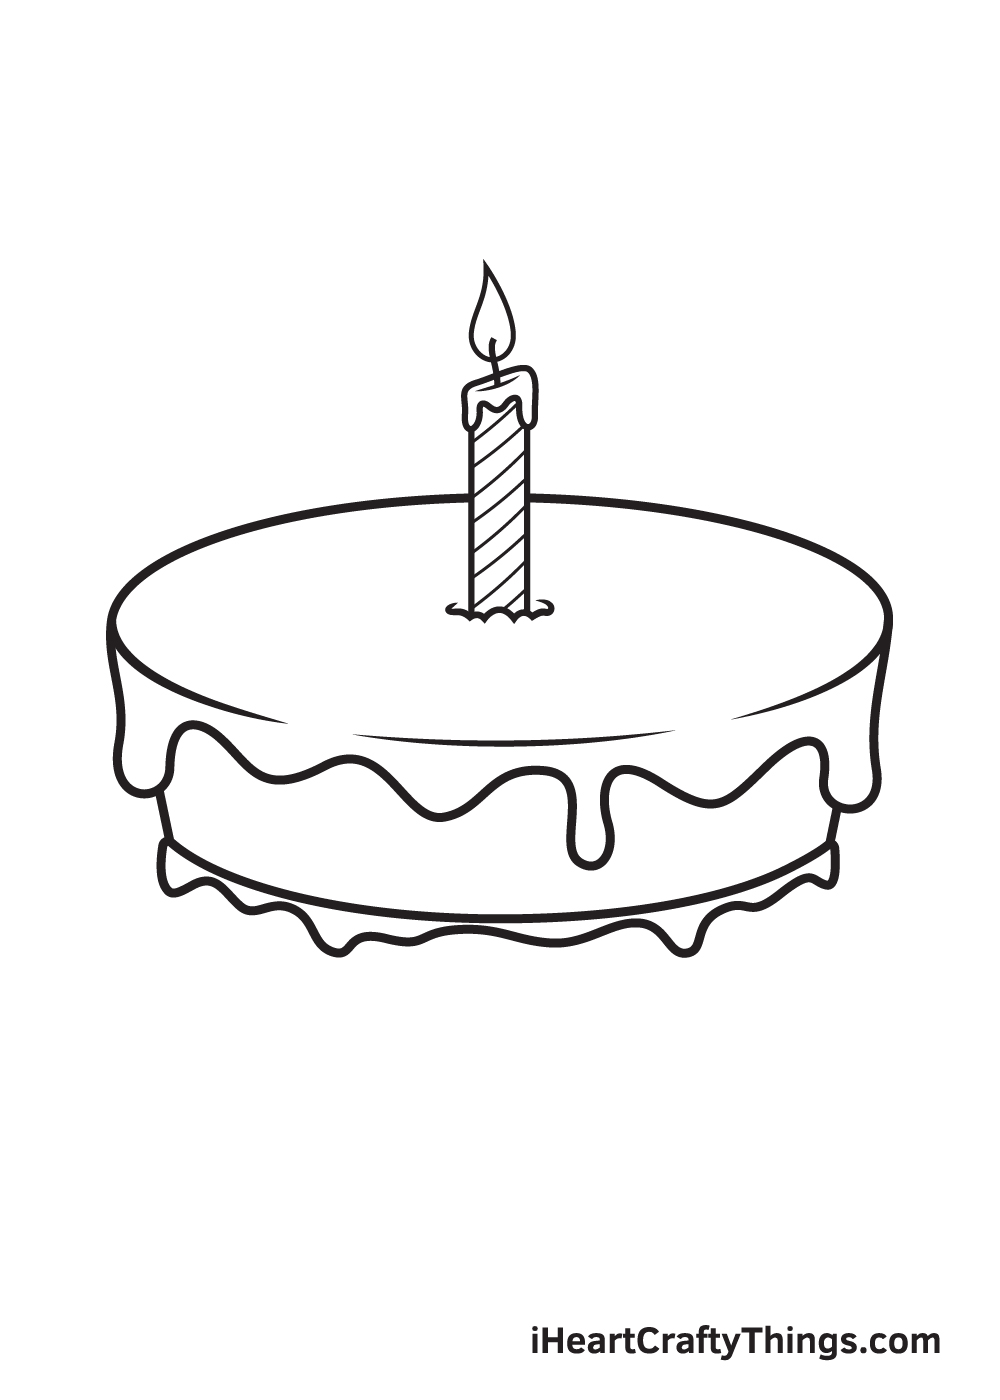
Right underneath the first layer of the cake, describe another dripping outcome. This time, all the same, the dripping frosting should be slightly smaller than the 1 at the very acme.
Step 7 — Then, Add the Bottom Layer of the Cake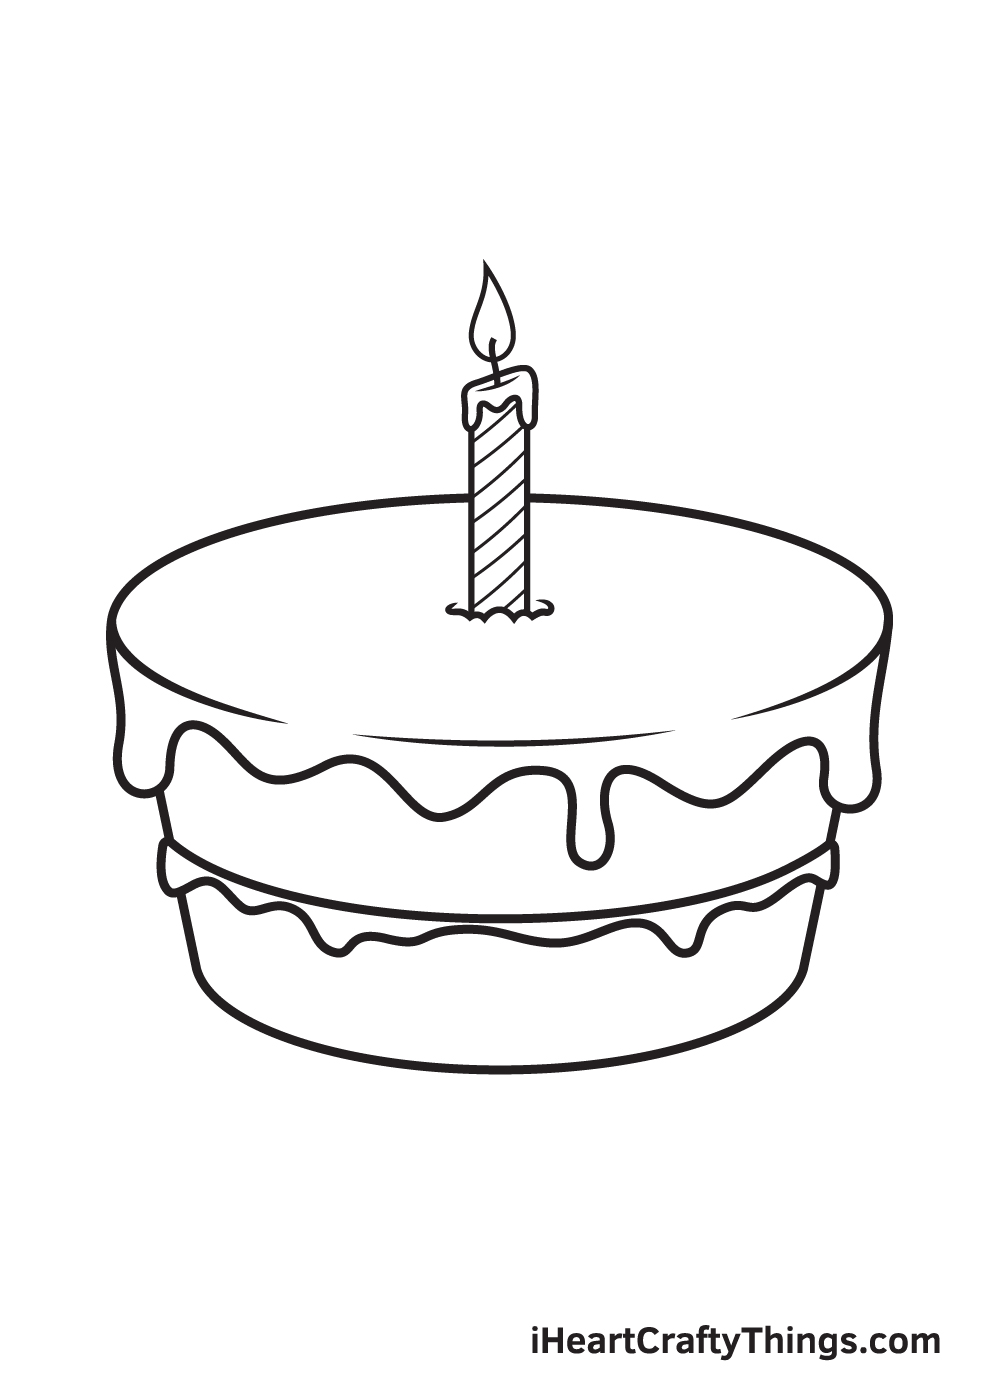
Beneath the second layer of dripping frosting, draw some other layer of cake like to the fifth step. Again, the second layer of cake should be a bit smaller than the topmost layer.
Step eight — Draw the Plate Underneath the Cake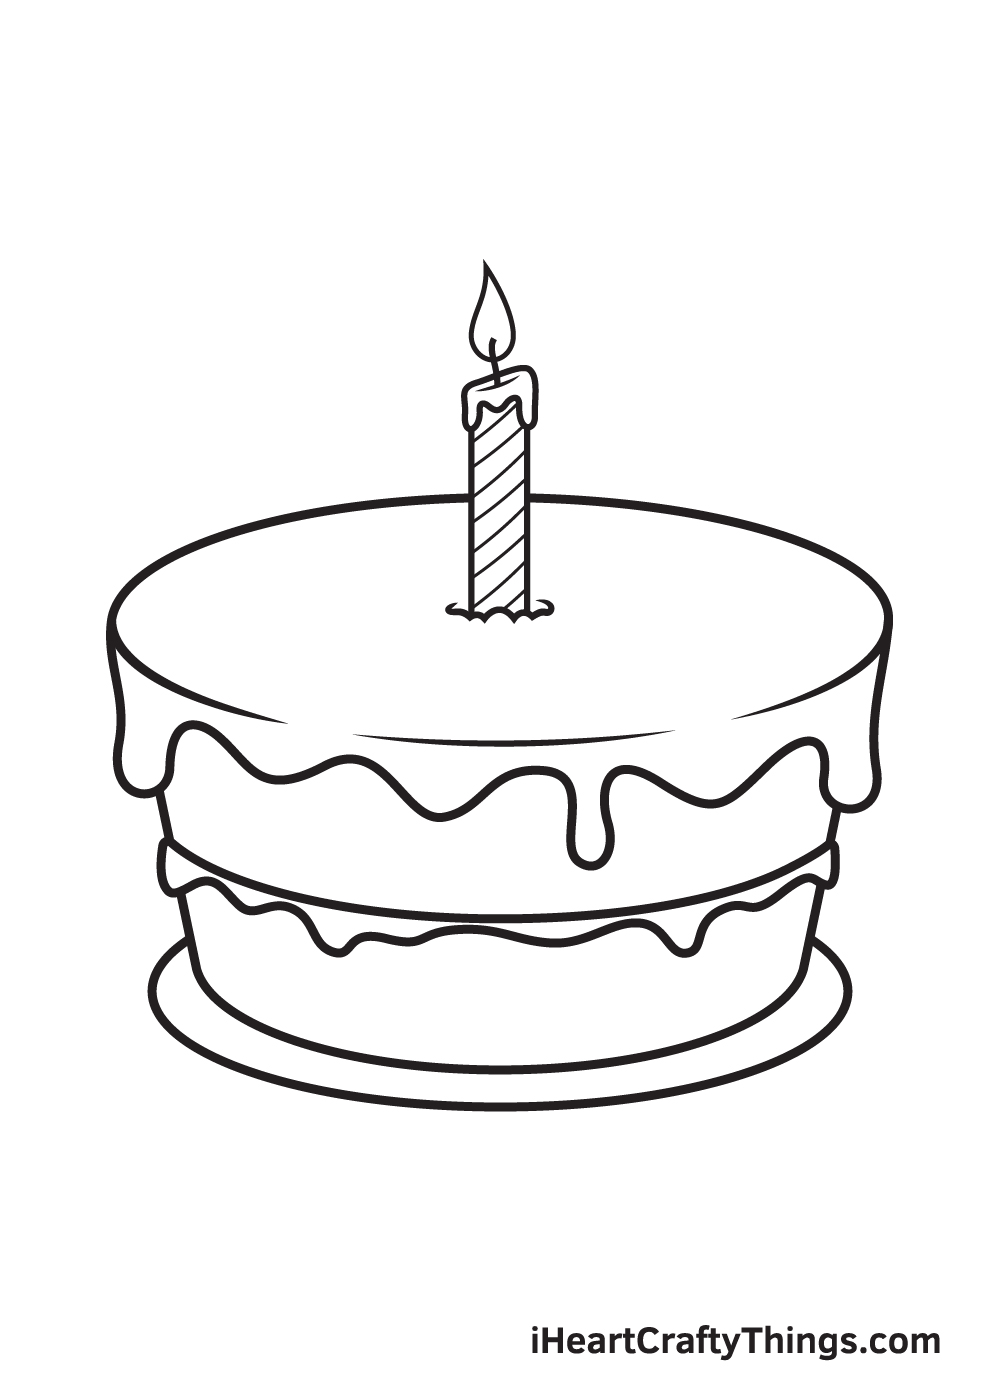
At the lesser of the base of the birthday cake, describe another sideways oval to create the cake plate. When fatigued correctly, it should appear like the birthday block is placed on top of the plate.
Keep in mind that the rear part of the plate must non be visible as the cake itself is roofing it.
Footstep 9 — Add together the Sprinkles on Top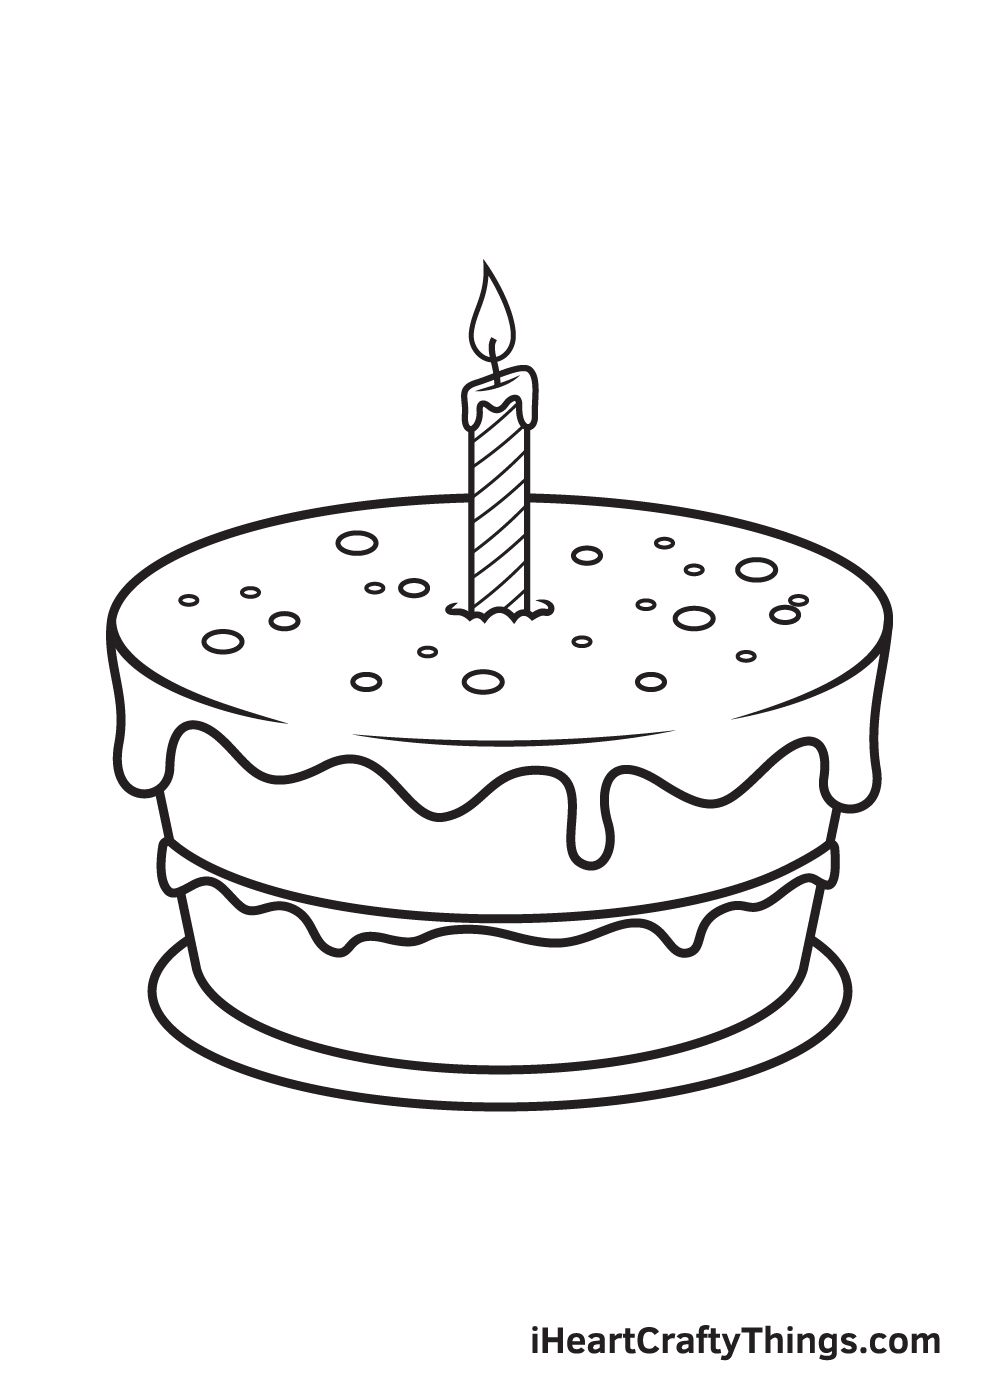
A birthday cake wouldn't be complete without a dash of colorful sprinkles on height. So, of course, nosotros volition be calculation sprinkles on height of our birthday block to complete the look! And of form, you lot tin put as many or as few sprinkles as you want!
Did yous know that sprinkles come in a wide range of shapes and sizes? The kind of sprinkles that you run into in this illustration is chosen jimmies, which are tiny saccharide strands in brusk rod shapes. There are also sprinkles in the form of spheres, flat circles, and crystals. Don't hesitate to draw whichever kind of sprinkles y'all like!
Here, you lot tin can see the altogether cake is nearly finished! The only thing it's missing is a splash of multiple colors to consummate your artwork!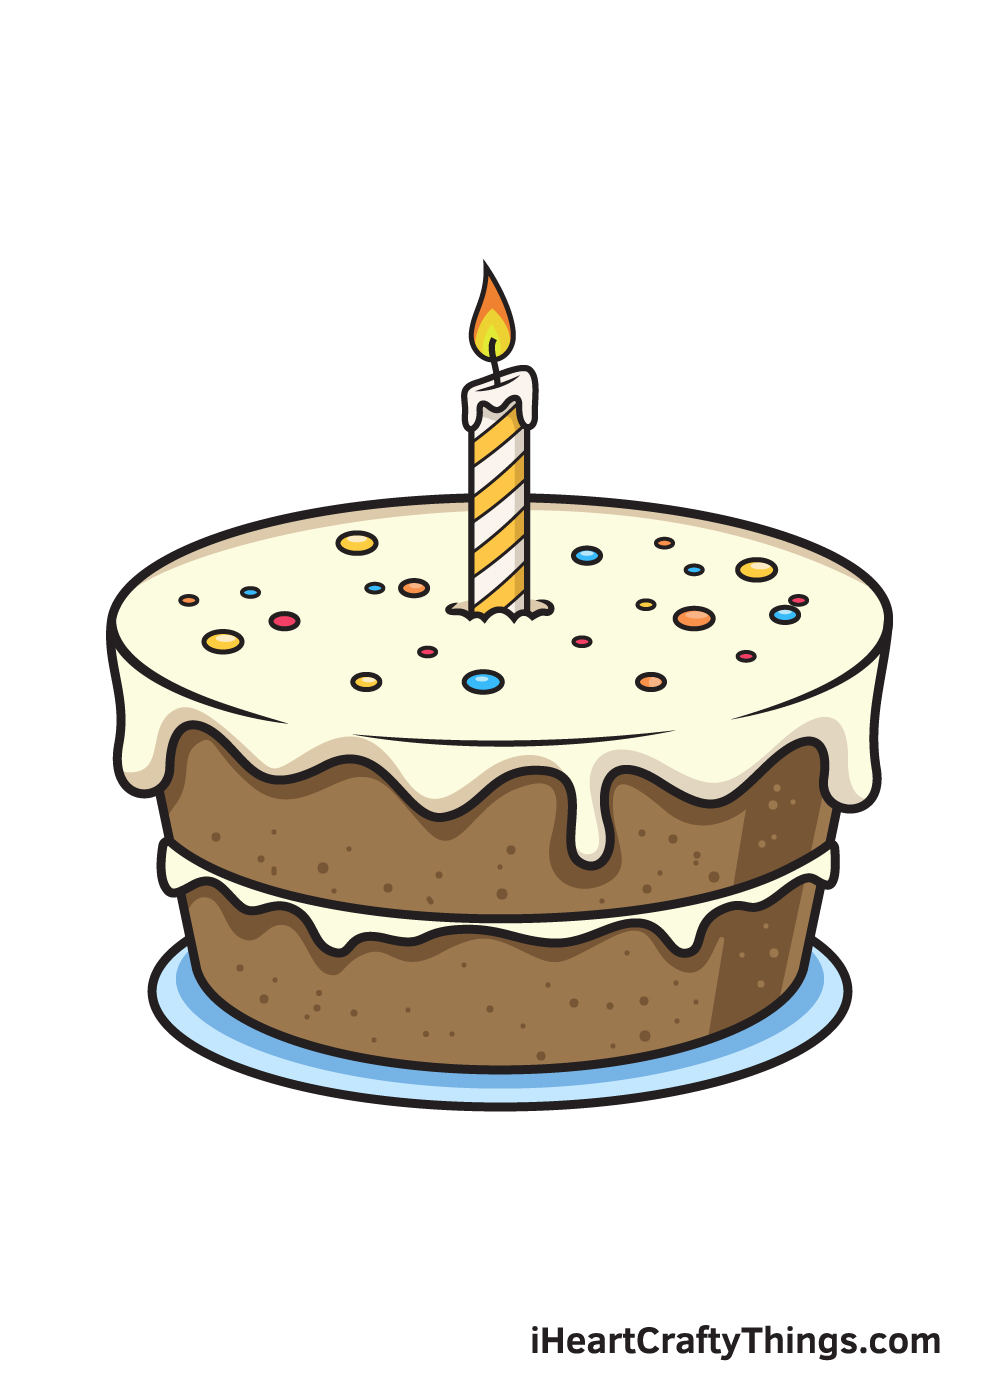
Finally, here is the most exciting office—filling in the colors for your awesome drawing! This is the office where you tin show off your artistic skills and your ability to mix and lucifer diverse colors.
Don't forget to differ the colors of the sprinkles from the frosting to make it stand out. You tin even use more than one color for the sprinkles and the frosting to brand your artwork more vibrant!
Altogether cakes come in a broad range of shapes, colors, and flavors. This gives yous a lot of opportunities to style and blueprint your birthday cake drawing. It's all upward to you! Recall, your imagination is boundless—take advantage of it by all means!
Your Altogether Cake Drawing is Complete!
Nosotros hope you lot enjoy this step-by-step tutorial on how to draw a altogether cake. With this guide, you tin can surely draw and color a altogether cake along with its complex features and elaborate details in no time.
And the most fun part is, you can customize its flavors and play with various colors every bit much as yous similar! While yous're at it, why non attempt using different coloring tools as well?
Once y'all've finished your masterpiece, we're sure yous must exist feeling very proud of yourself—as y'all should be!
Completing this birthday cake drawing is definitely fulfilling. Brand sure to prove off your work of art and share it on our Facebook page and on Pinterest. We're sure it looks amazing!
We can't await to see your colorful altogether cake drawing!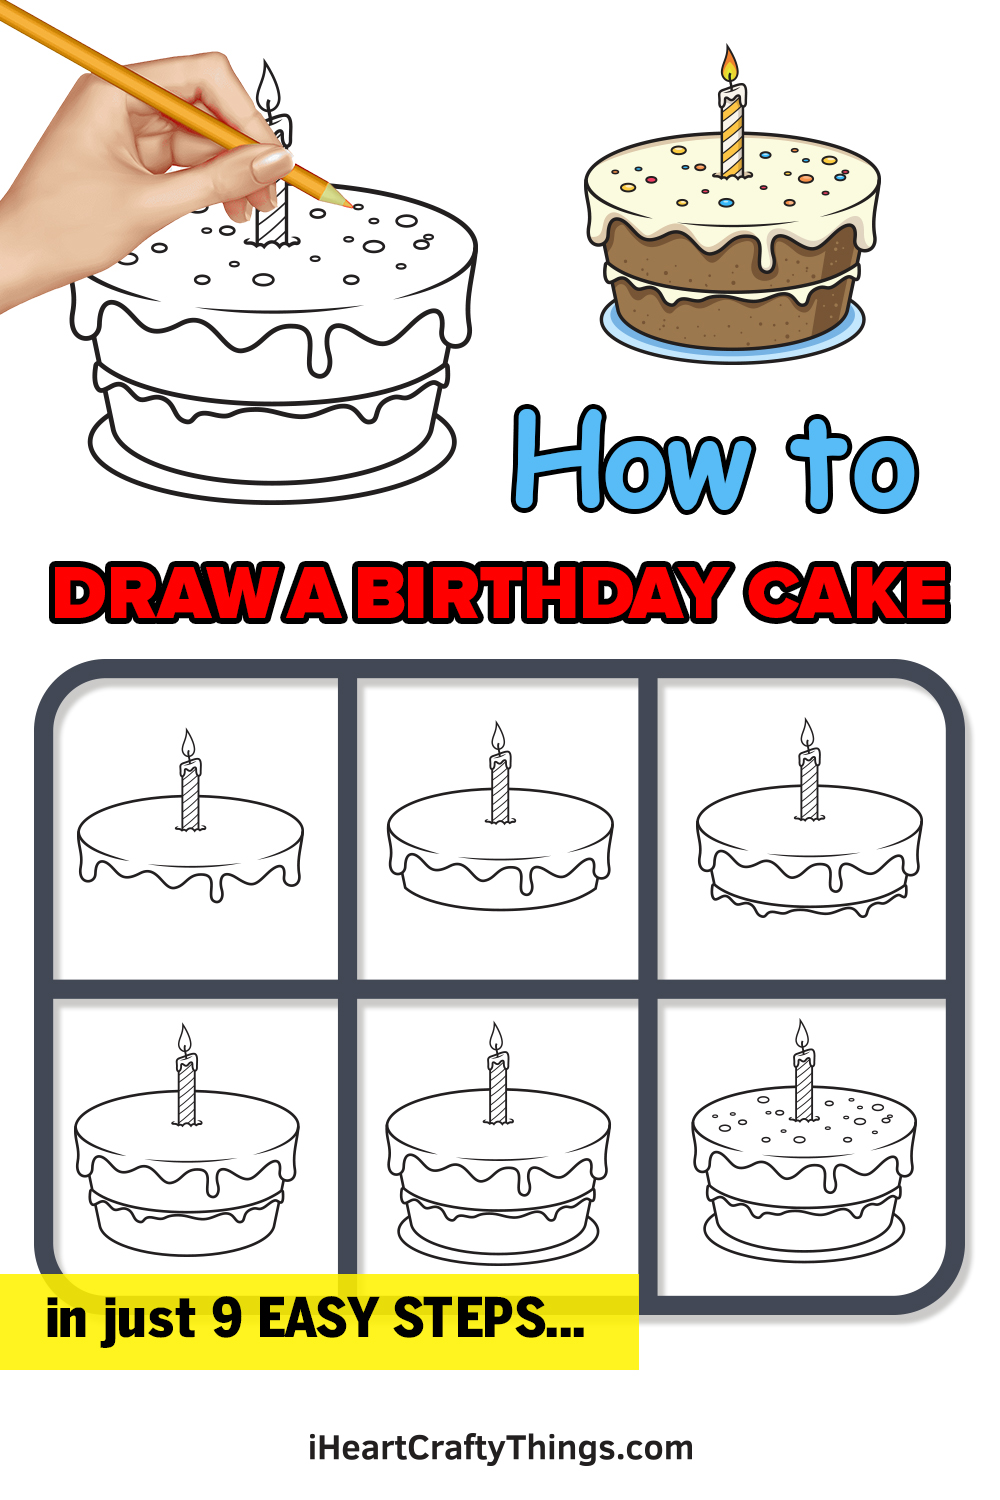

Source: https://iheartcraftythings.com/birthday-cake-drawing.html
Posted by: perkinsbrerefrommen.blogspot.com
0 Response to "How To Draw A Birthday Cake Step By Step"
Post a Comment