

how to draw a dog paw
Paw prints are marks fabricated by paws or feet of certain animals like dogs, cats, or a bear. If you accept a pet, then yous're surely familiar with this singled-out impress in the form of a hand.
Nowadays, manus prints are existence used equally a pattern and can be seen on shirts, bags, and many more! Turns out, a paw impress can besides be an art! This has resulted in a huge demand for a complimentary paw print cartoon tutorial.
To fulfill our reader's wishes, we have created a footstep-by-pace tutorial on how to draw a paw impress.
This guide consists of 9 piece of cake instructions, all of which come up with unproblematic illustrations that serve equally your visual guide as you follow the steps one past one.
Have fun cartoon a realistic hand print! 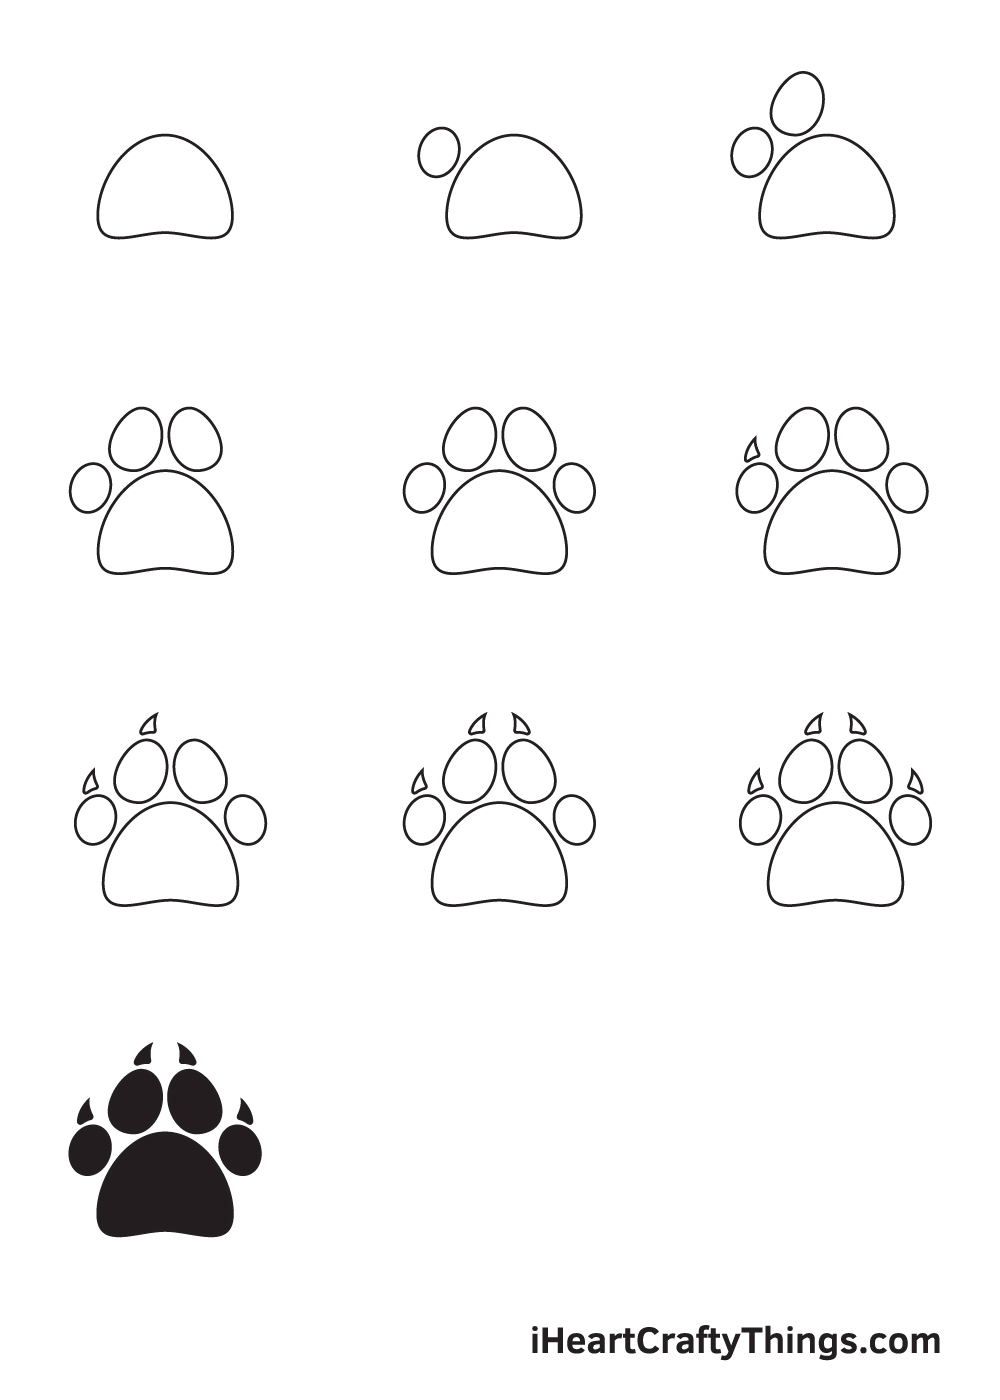
What'due south in this Blog Post
- How to Draw a Paw Print — Let's go started!
- Step i
- Pace 2 — Draw the Start Digital Pad of the Mitt
- Step 3 — Draw the Paw'south 2d Digital Pad
- Step 4 — Draw the Tertiary Digital Pad of the Manus
- Footstep 5 — Complete All Four Pads of the Hand
- Step 6 — Add the Claw of the Leftmost Pad
- Step 7 — Draw the Hook of the 2d Pad
- Pace 8 — Adjacent, Draw the Tertiary Pad's Claw
- Step nine — Consummate the Claws on All Iv Pads
- Your Paw Print Drawing is Complete!
How to Depict a Manus Print — Permit's become started!
Step 1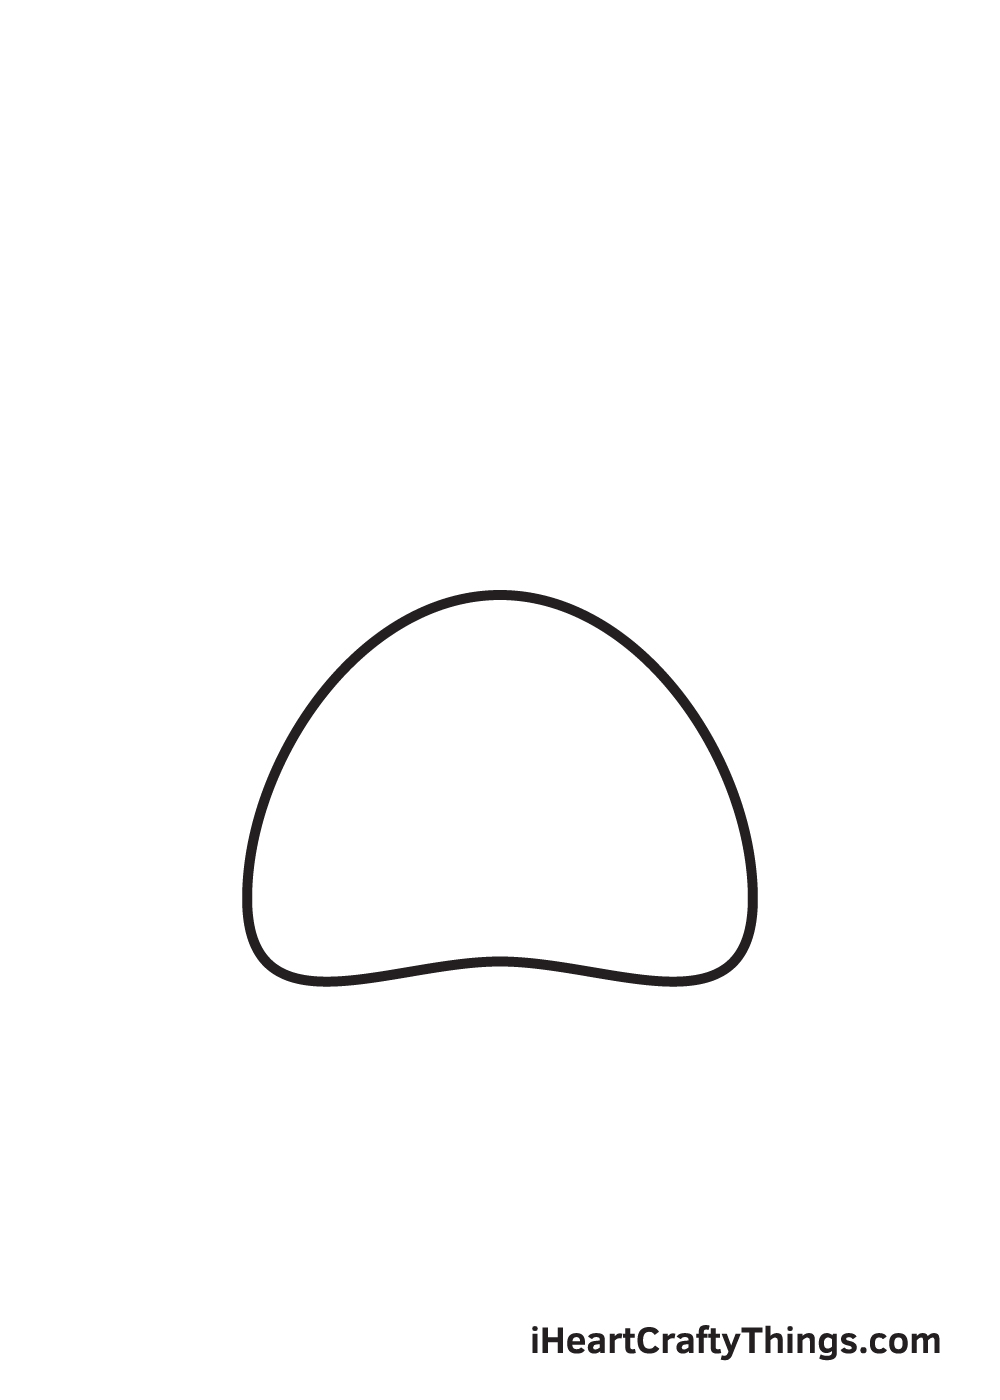
Start past drawing a downwardly curved line on the bottom portion of your paper. Then, close off the figure by drawing an uneven horizontal line with a bump in the middle at the lesser of the curved line. This forms the metacarpal pad, which is the largest pad in the paw print.
Proceed in mind that all three corner edges of the metacarpal pad should be curved, as shown in the illustration above.
Recall, start at the bottom of your paper ensures that there's sufficient space for the pads on the upper office of the paw print.
Stride ii — Draw the First Digital Pad of the Paw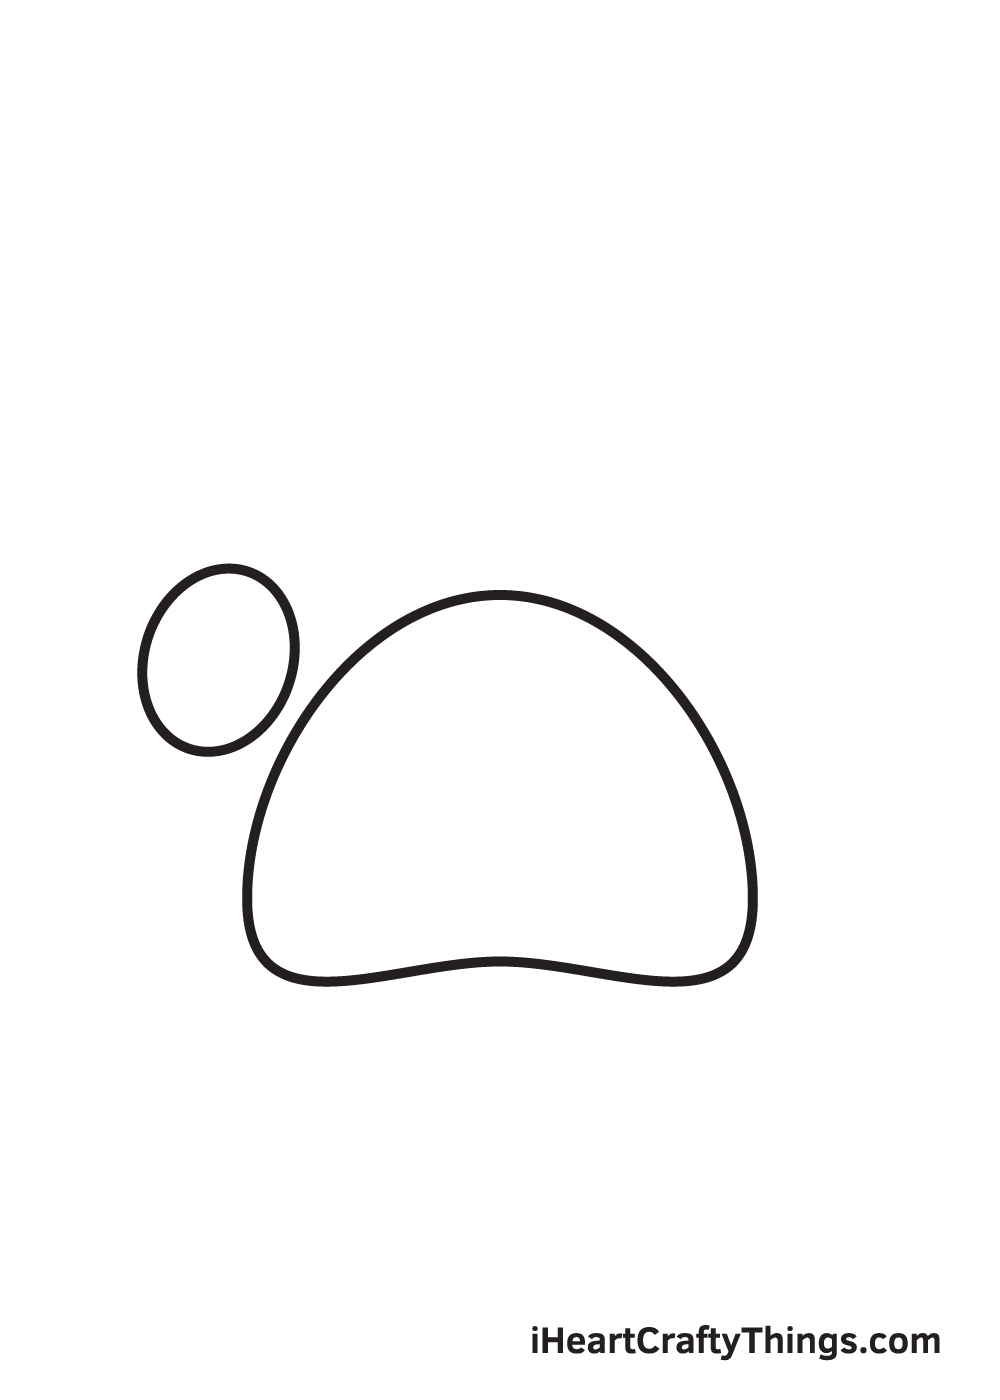
Depict a diagonal oval shape on the left side above the metacarpal pad. This forms the first digital pad of the paw print, which is located on the leftmost side.
Have note: the digital pad shouldn't exist directly touching the metacarpal pad. There should be a slight gap in between the two, similar to the analogy above.
Footstep 3 — Draw the Mitt's Second Digital Pad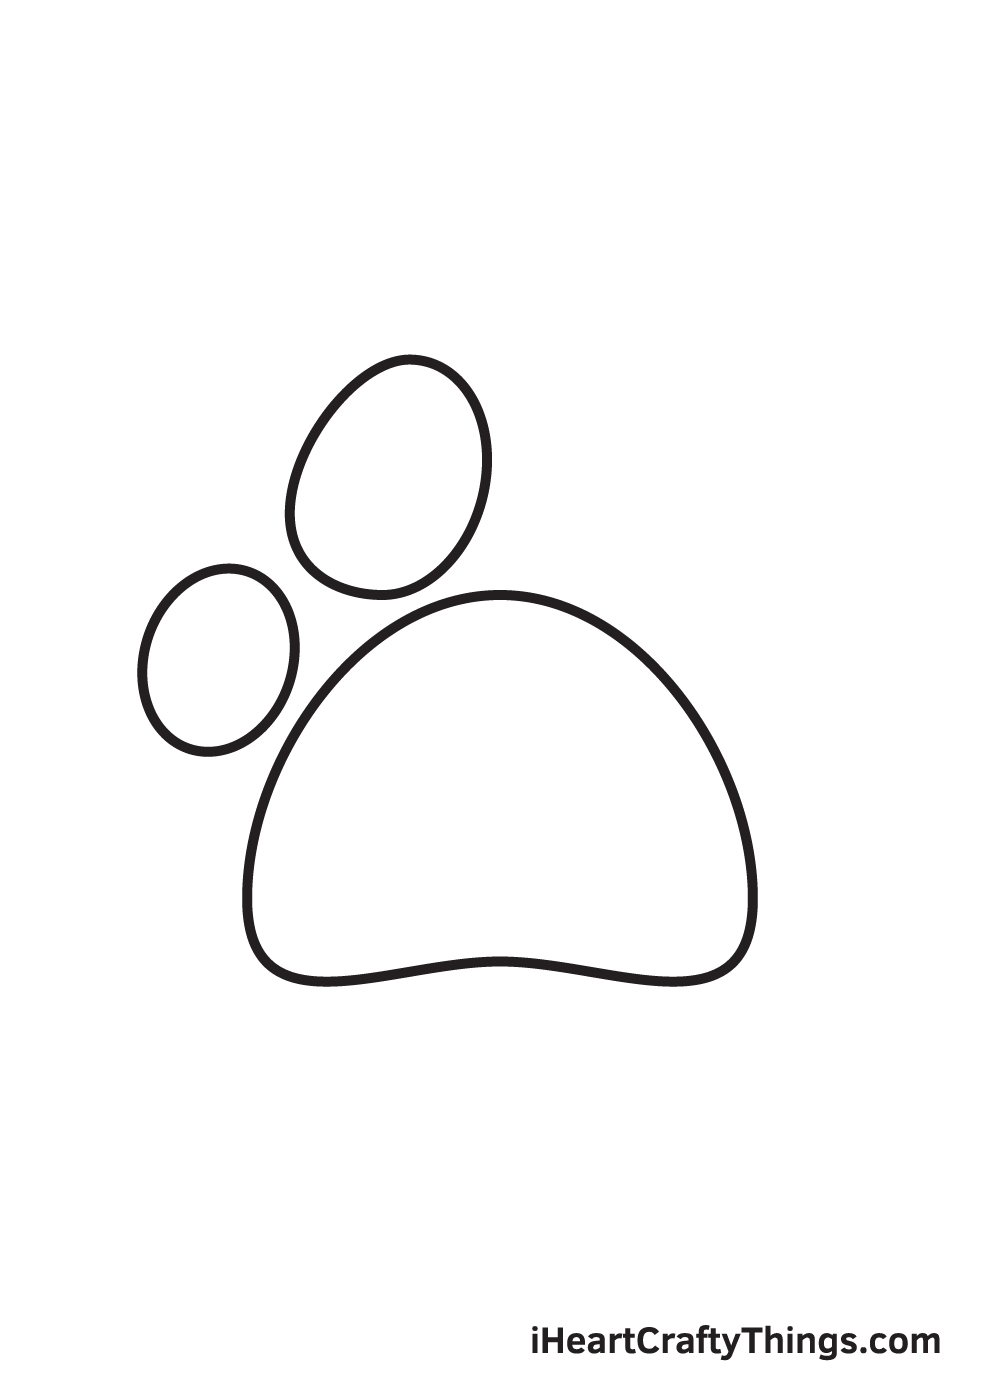
Describe a bigger oval shape beside the 1 we drew in the previous step. This forms the second digital pad of the manus print, which should be located right abreast the first one.
Don't worry if the shapes of the digital pads aren't perfect! They don't necessarily take to exist. Equally a affair of fact, the more than uneven they are, the more realistic they look!
Pace 4 — Describe the Third Digital Pad of the Paw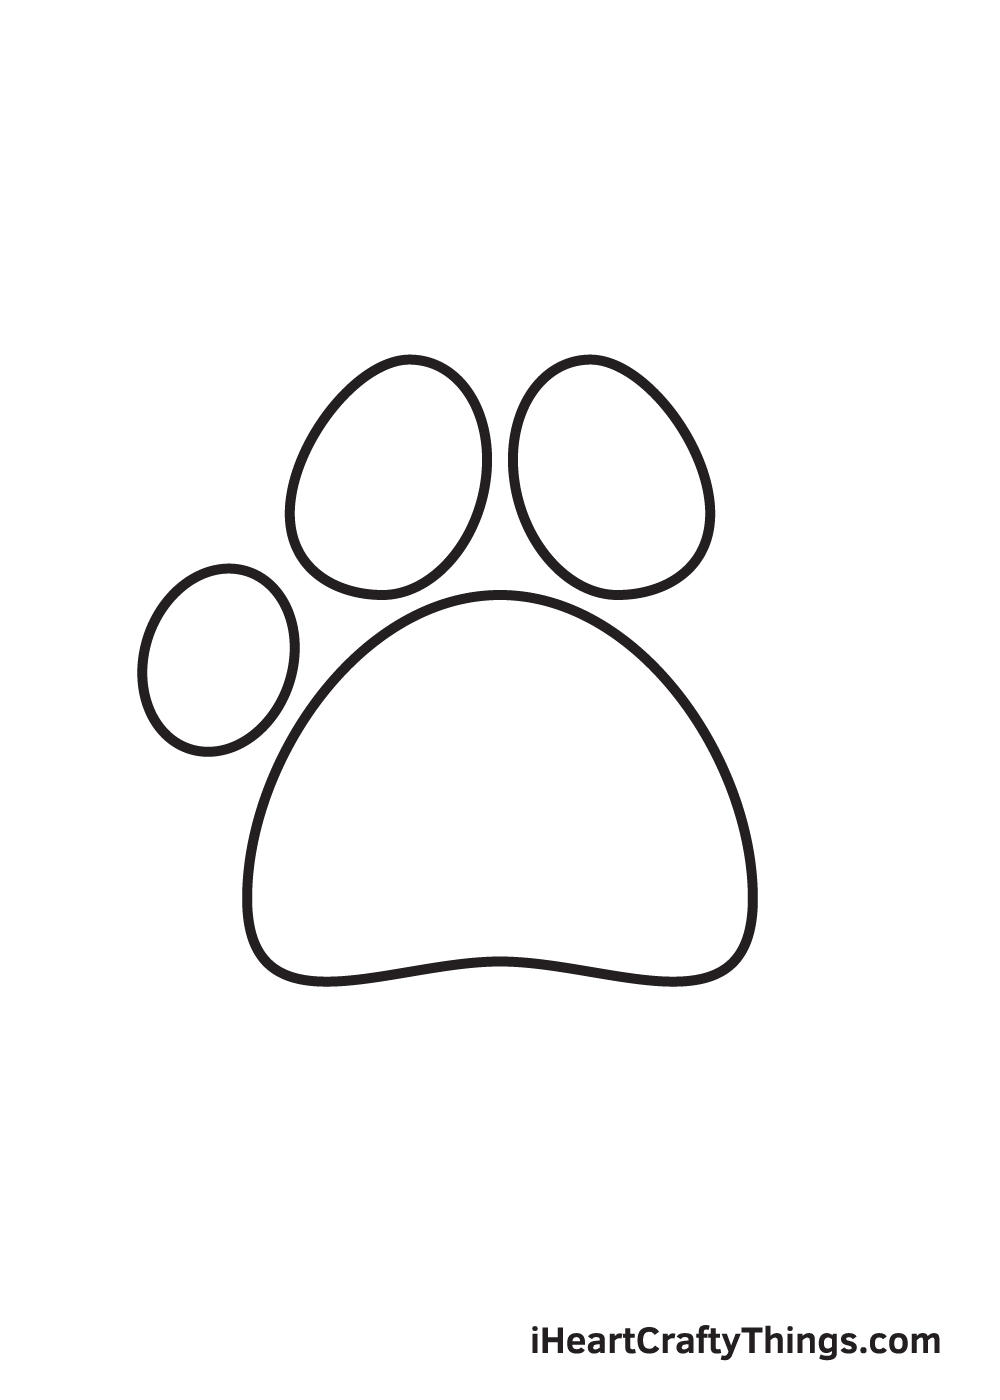
Repeat the previous step to create the third digital pad, which should be as big every bit the 2nd one.
At this point, you should now have iii digital pads, and merely one more than is missing.
Step 5 — Complete All Four Pads of the Mitt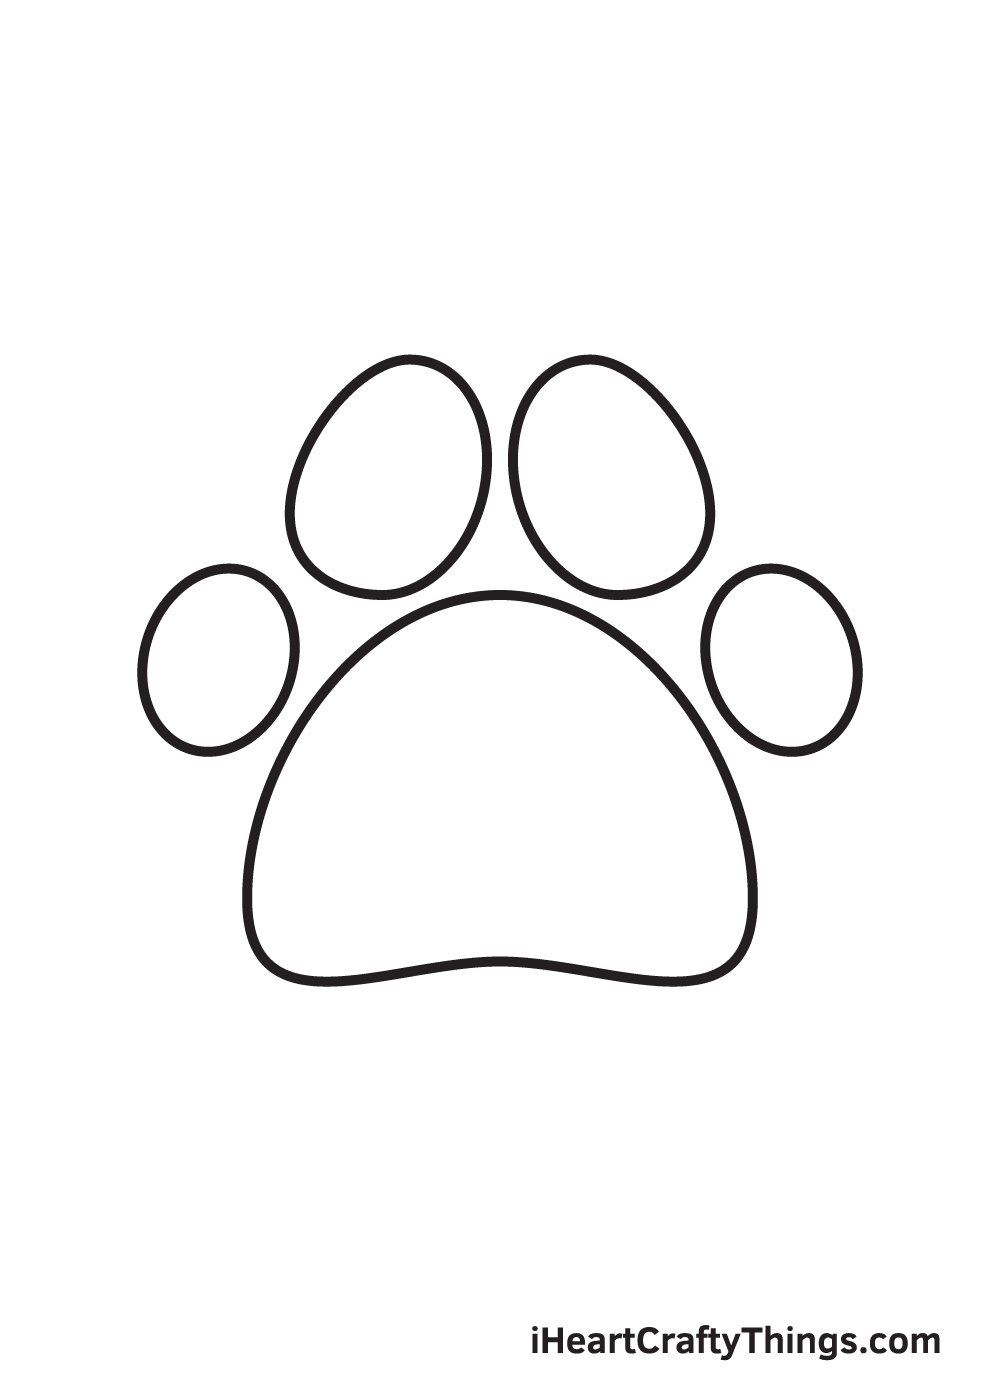
Draw a smaller oval shape similar to the size of the first digital pad nosotros drew previously in the second step. This forms the fourth—and the last—digital pad of the hand impress situated on the rightmost side.
After finishing this footstep, all four digital pads of the paw print should now be complete. We're almost done—keep going!
Step 6 — Add the Hook of the Leftmost Pad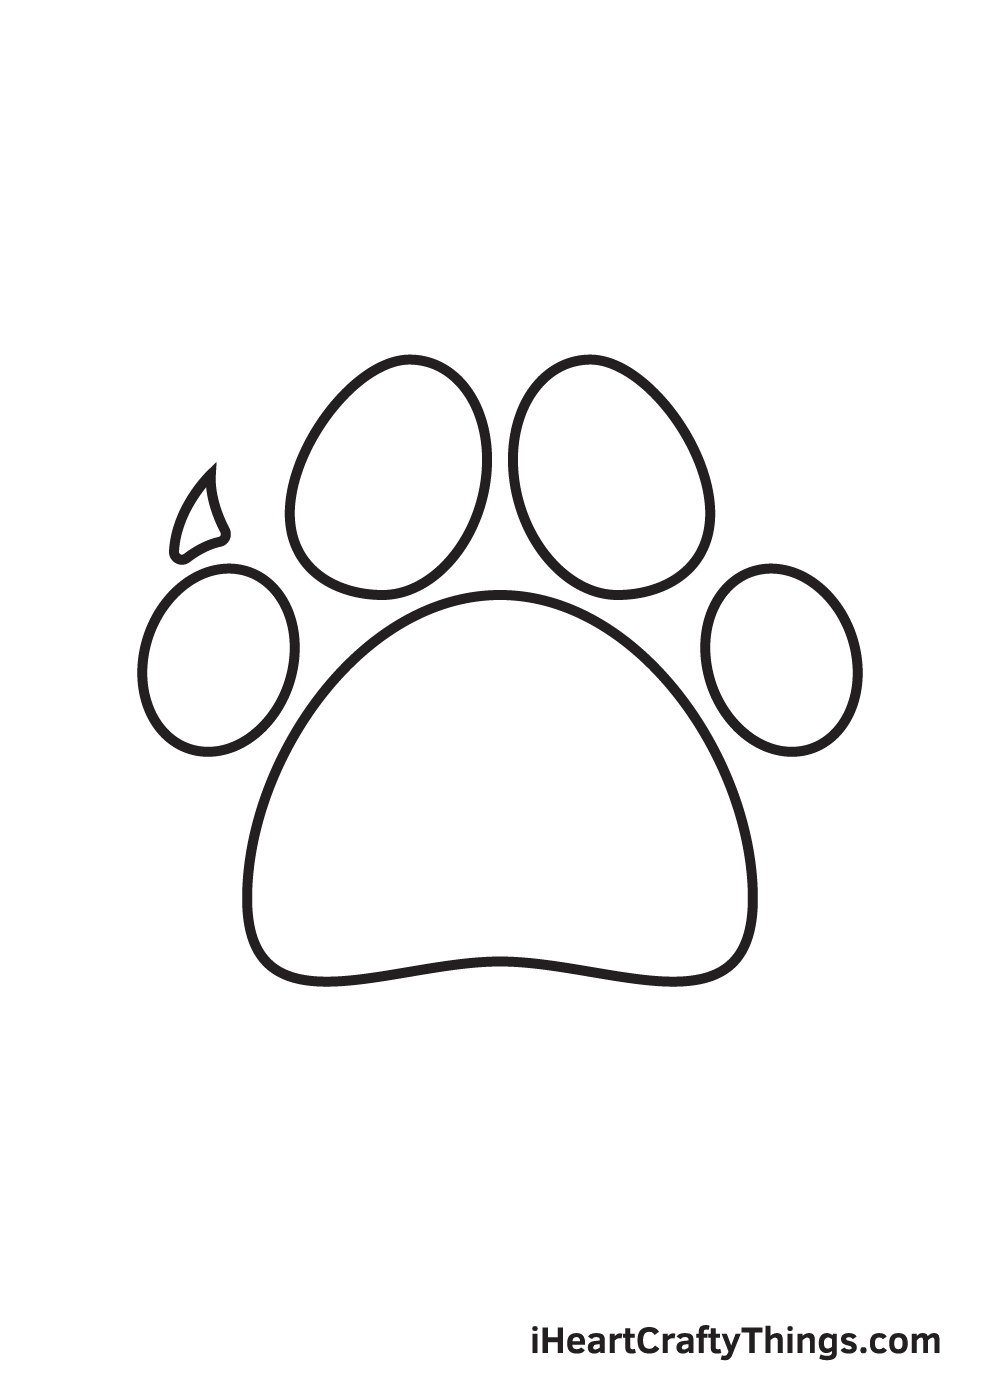
Describe a slightly curved triangle shape above the get-go digital pad on the leftmost side. This forms its sharp, pointed claw—ane of the mitt print's nigh distinct features!
Brand sure that the digital pad and its claw aren't touching. There should be a pocket-size gap in between the ii, equally shown in the illustration above.
Pace 7 — Depict the Claw of the 2d Pad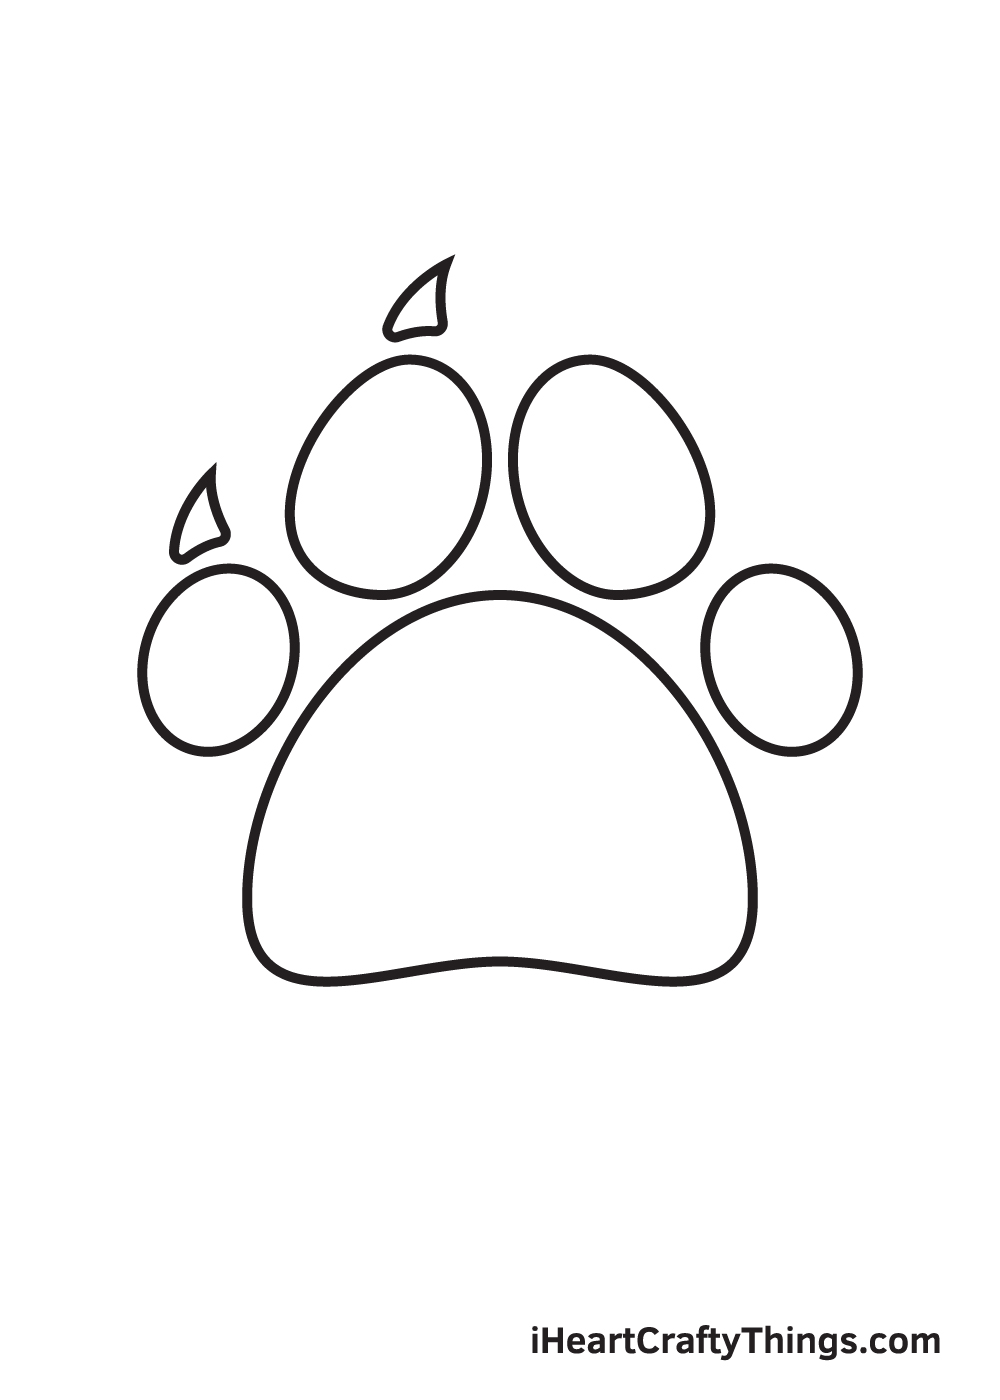
Repeat the previous step above the next digital pad.
This forms the claw of the second digital pad in the paw print.
Pace viii — Next, Draw the Third Pad's Claw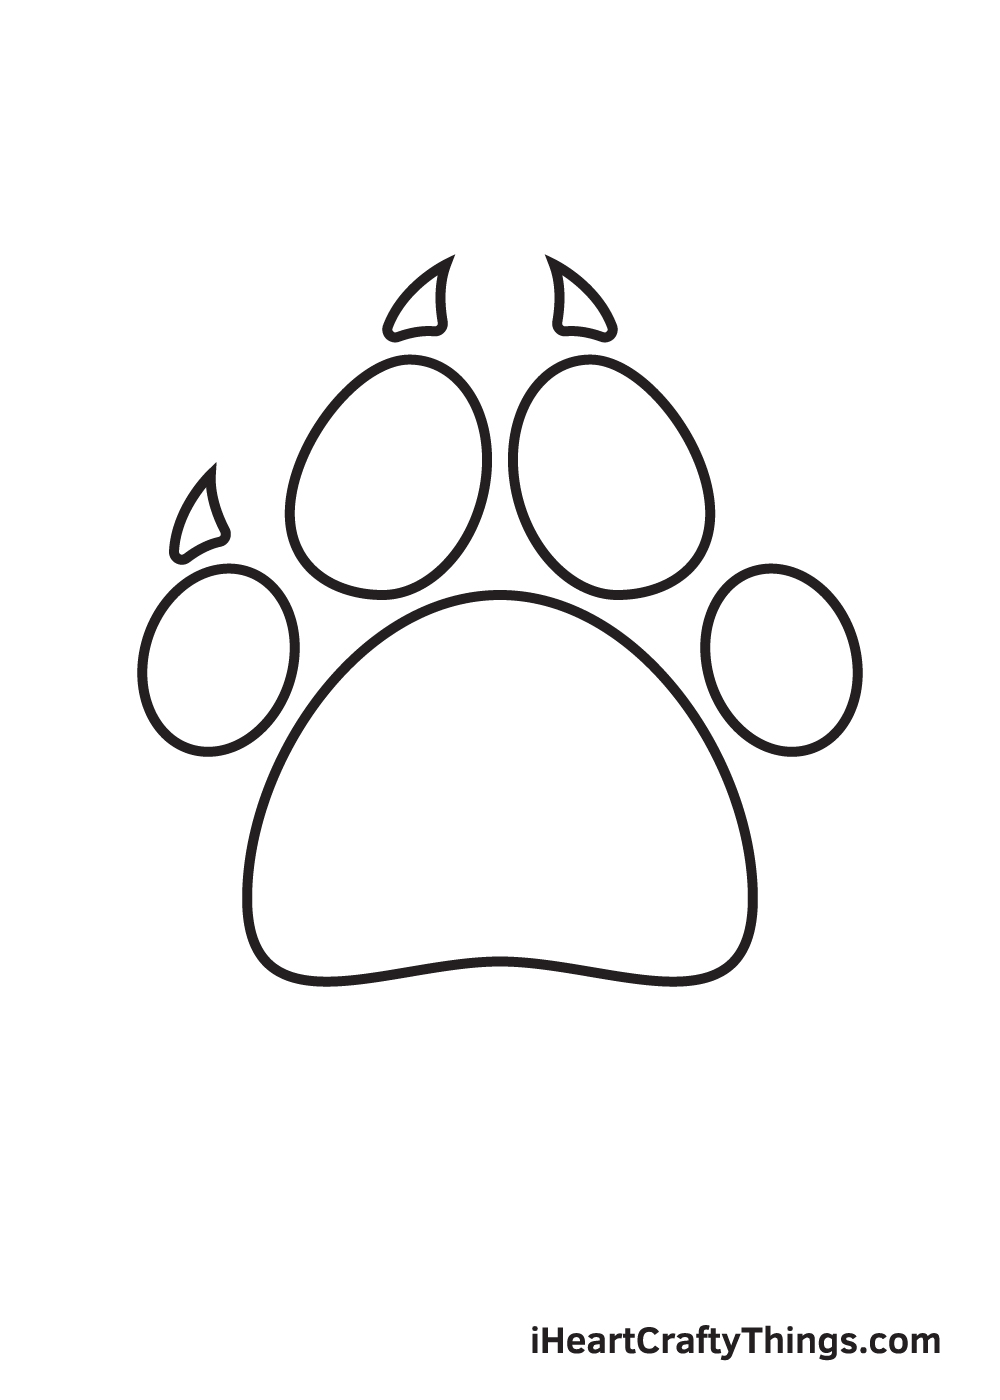
Moving forward to the third digital pad, describe a similar figure above it to create its claw.
Look at those sharp, pointed claws, you lot definitely wouldn't want to mess with information technology, would you?
Step ix — Complete the Claws on All Four Pads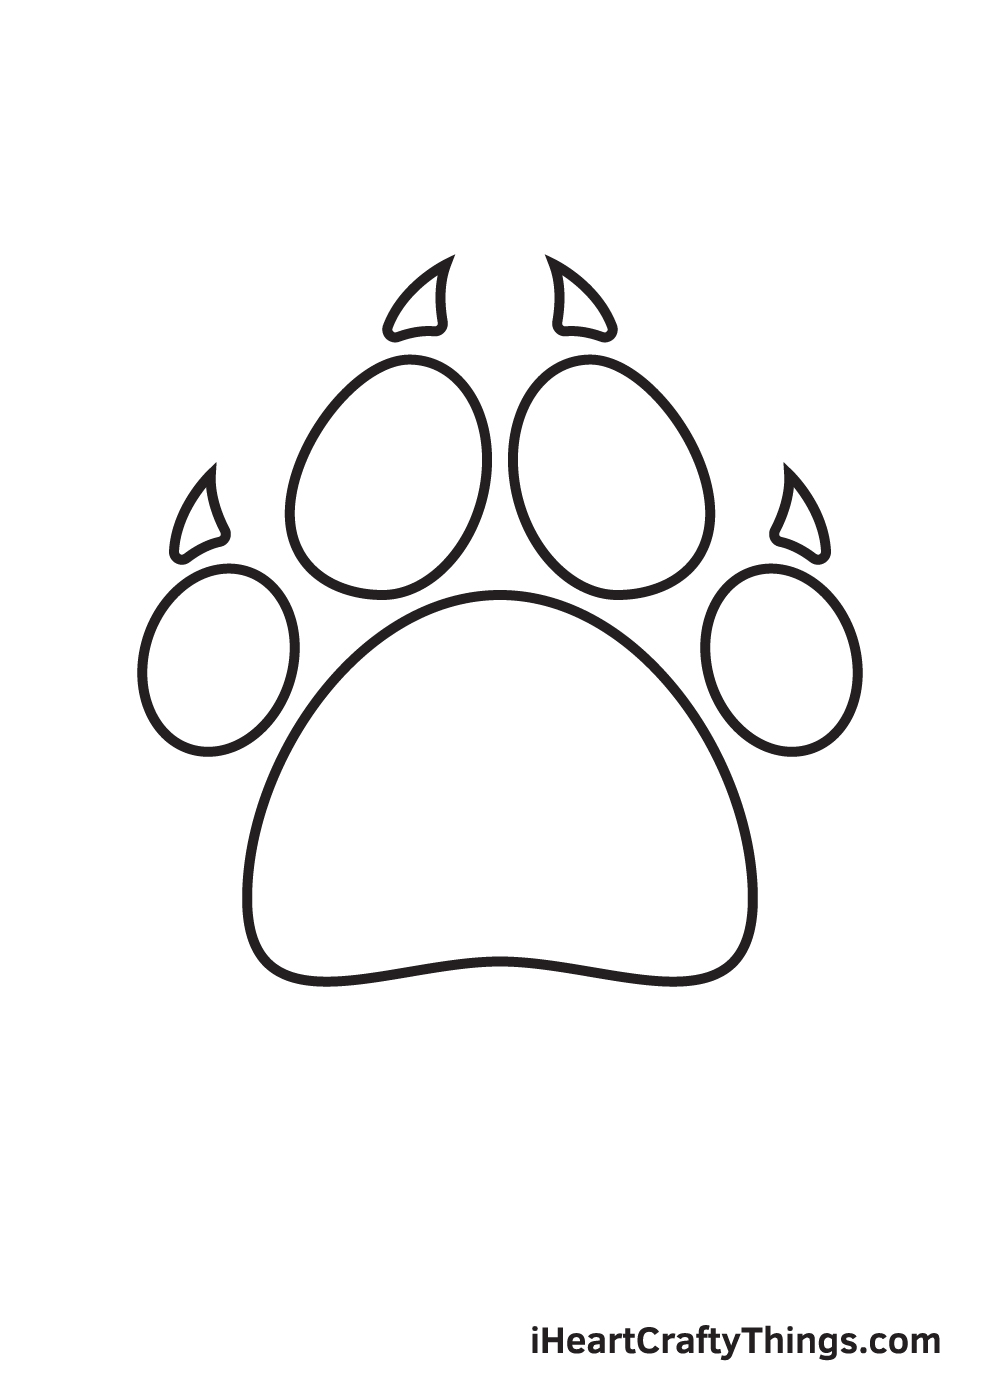
Draw another triangular shape to a higher place the digital pad on the rightmost side.
At this bespeak, all 4 digital pads of the hand print should now have claws. This completes your paw impress drawing. At present, all it's missing is a splash of colors to make information technology colorful!
There you lot have it—you lot have successfully fatigued a paw impress. That means, it'due south finally time for the most exciting part, which is coloring the paw print!
As you can see in the illustrations, nosotros've kept the colors plain and simple. We colored the entire paw impress with black to get in equally realistic every bit possible!
You can choose to color the hand impress with the same color we used or opt for a different color. You can even utilise more than ane color to create a multi-colored paw print. How fun is that?!
Have fun playing with colors! We're sure the colors volition turn out beautifully!
Your Paw Print Drawing is Complete!
We promise you savour this footstep-by-step paw print drawing tutorial. Now that yous can draw a hand print, perhaps you can draw a dog with mitt prints surrounding it next?
Check out our catalog to explore drawing tutorials of diverse animals that may await best with a paw print!
Once you're done drawing and coloring a paw impress, you should experience proud of yourself for completing a masterpiece! Don't forget to accept a photo of your artwork and share information technology on our Facebook folio and Pinterest.
We're excited to see your incredible paw print drawing!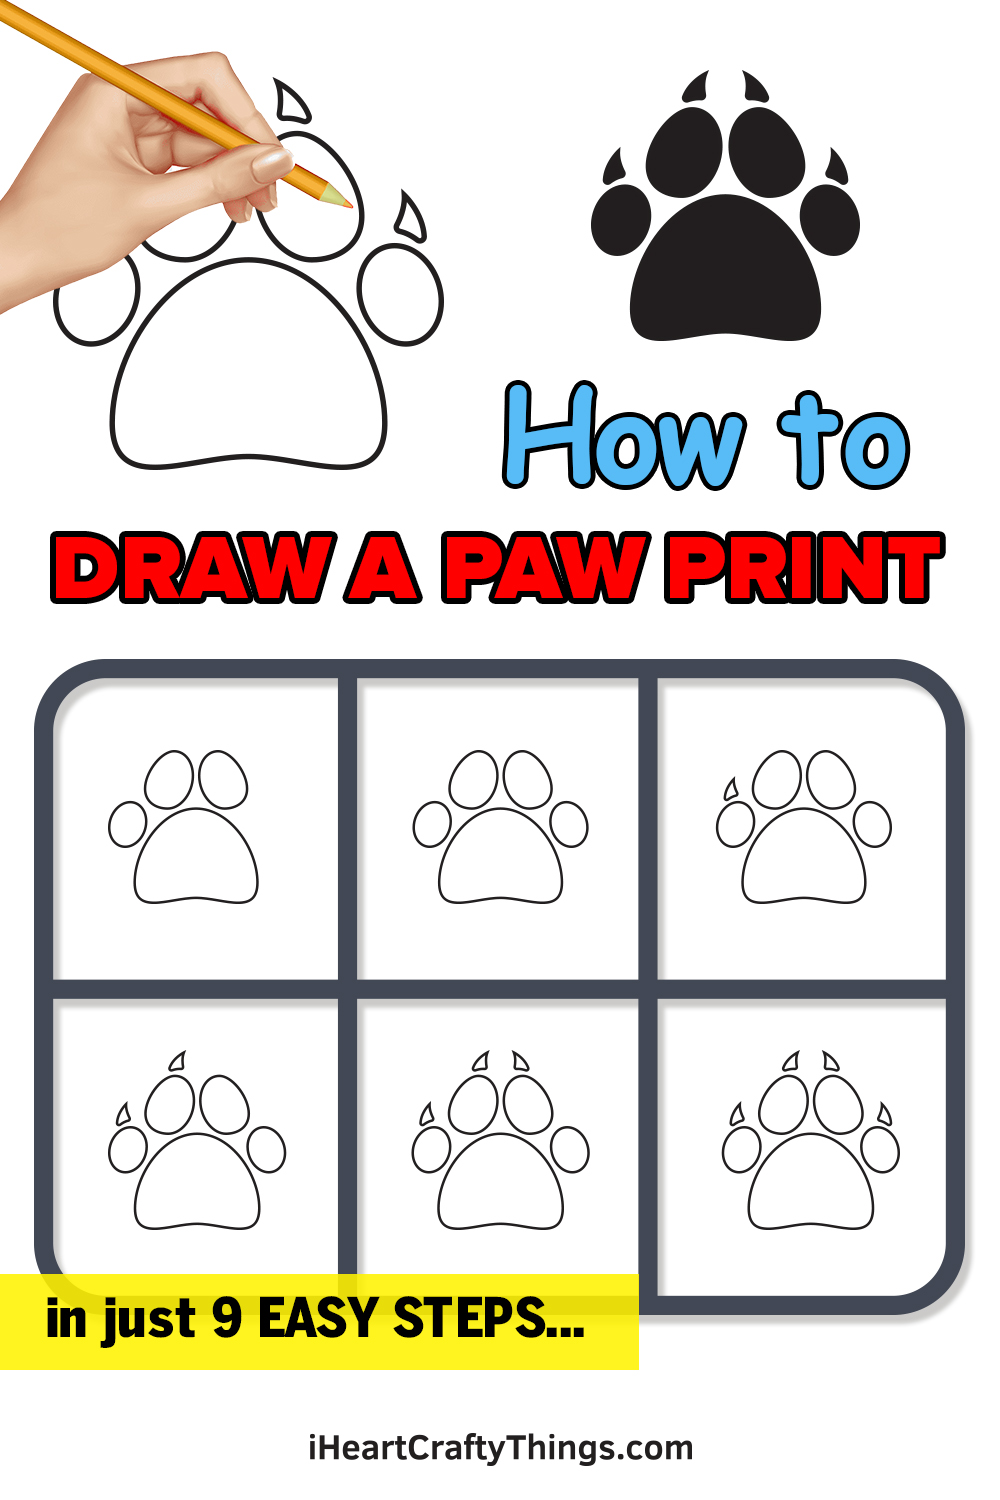

Source: https://iheartcraftythings.com/paw-print-drawing.html
Posted by: perkinsbrerefrommen.blogspot.com
0 Response to "how to draw a dog paw"
Post a Comment